

2077 Dark Reality FX
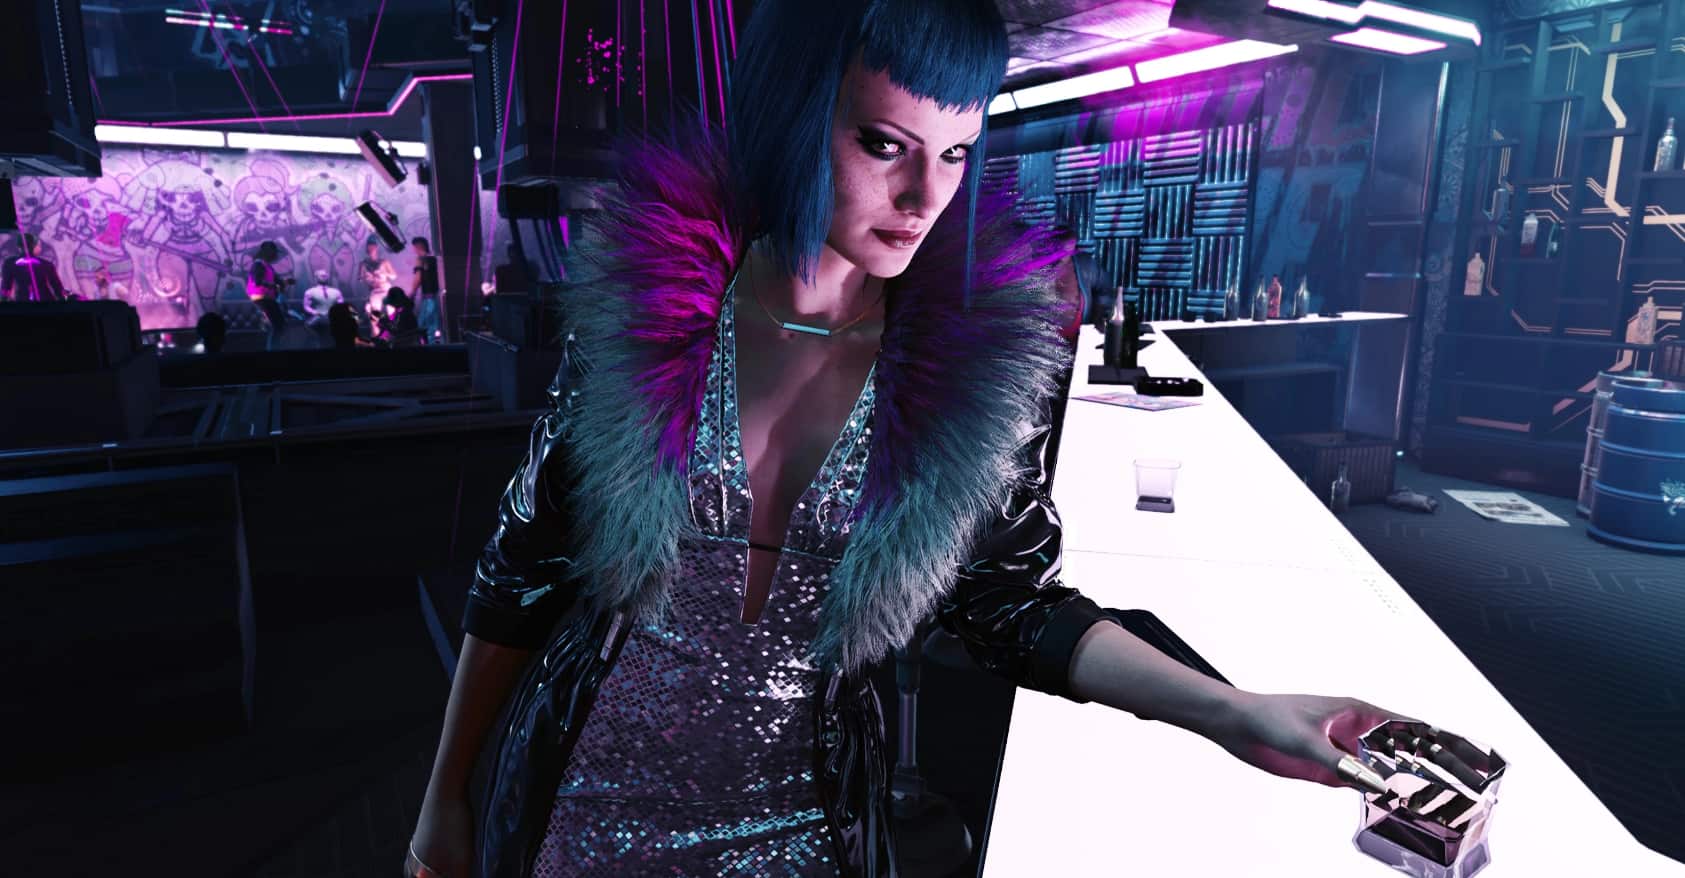
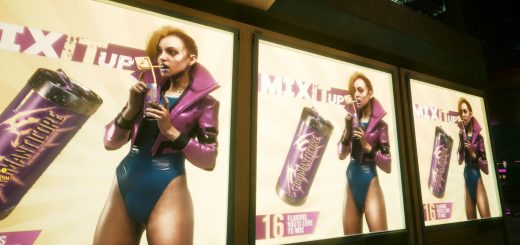
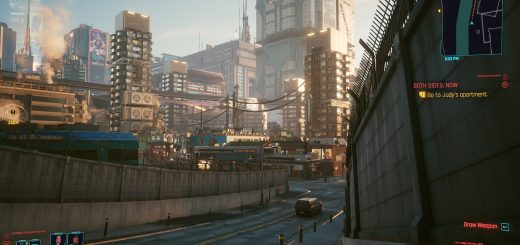
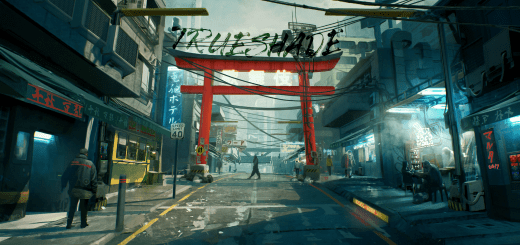
A preset that removes the green that permeates everything in Night City and brings out dark tones and white lighting.
2077 Dark Reality FX consists of three reshade presets
1 – Preset 2077 Dark FX
This is the main preset, it’s the same one used to take screenshots.
FPS impact: 1 to 3 FPS.
Techniques used:
PD80_04_Contrast_Brightness_Saturation.fx
DPX.fx
Curves.fx
2 – 2077 Dark FX V2
This secondary version has a little more contrast, and a little more light exposure.
FPS impact: 1 to 3 FPS.
Techniques used:
PD80_04_Contrast_Brightness_Saturation.fx
DPX.fx
Curves.fx
3 – 2077 Dark FX CINE
This is a cinematic style version.
FPS impact: 5 to 7 FPS
Techniques used:
PD80_04_Contrast_Brightness_Saturation.fx
DPX.fx
Curves.fx
FilmGrain.fx
PD80_06_Chromatic_Aberration.fx
Unsharp.fx
INSTALLATION:
This preset is made using the latest version of Reshade to 4.9.1.
It is very important that the 4.9.1. Reshade version is installed
In the installation phase when prompted “Select effect packages to install:” it is important that you select all options.
Remembering that following the tutorial you should install the Reshade on your Cyberpunk 2077 game.
you will need to locate the Cyberpunk2077.exe ? that is located in “\SteamLibrary\steamapps\common\Cyberpunk 2077\bin\x64”.
Installed the Reshade… now download the preset package…after downloaded extract all files in “\SteamLibrary\steamapps\common\Cyberpunk 2077\bin\x64” is the same location where you installed the Reshade.
Now Start the game and choose the preset.
Important:
This setting is not HDR compatible, you need to disable the game’s HDR, otherwise you will have incompatible contrasts with the images.


