PixelBlushYT ReShade
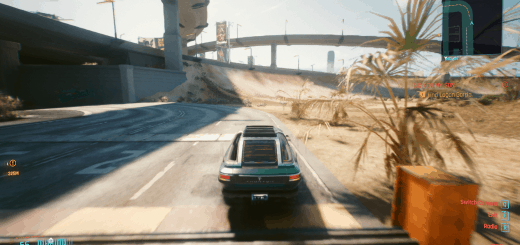
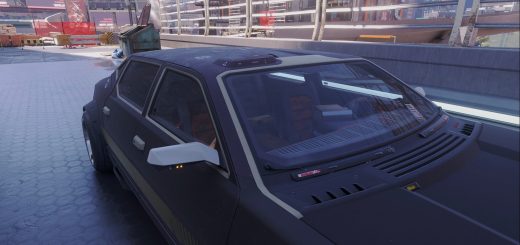
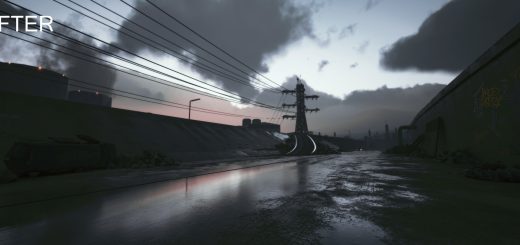
Cinematic Reshade.
Removed green tint.
Added camera blur – Optional
Added widescreen bars – Optional
EZ PZ
REQUIREMENTS:
When you install reshade make sure that you check the boxes for
“Standard effects”,
“SweetFX by CeeJay.dk” and
“qUINT by Marty Mcfly” for this to work.
INSTALLATION:
Drag the download into the “**\Cyberpunk 2077\bin\x64” folder where the reshade is installed.
Open up the game and bring up the reshade menu (“home” key by default) and select the preset, it is the same name as the text file.
UPDATE:Go into the D3D12 tab on reshade menu and chose a different checkbox if you’re not getting the blur settings. Just go down the list until it works. You only have to do this once.
Also, the menus are blurry as frick so hit the “-” to disable and enable it whenever you want, it is instant.
Blur is enabled by default but you can toggle it by pressing the “-” (dash) key above the letter “p”.
Widescreen black bars are disabled by default, you can toggle them by pressing “=” (equal) right next to “backspace”


