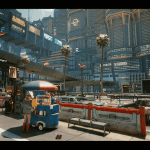
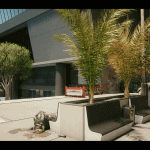
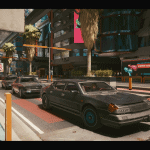
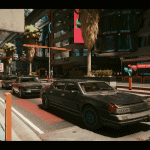
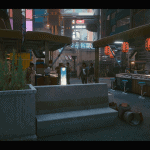
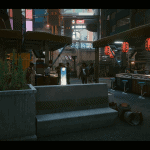
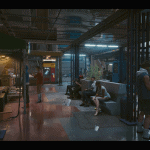
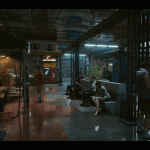
Night City Enhanced Reshade
An realistic enhancement Reshade preset for Cyberpunk 2077.
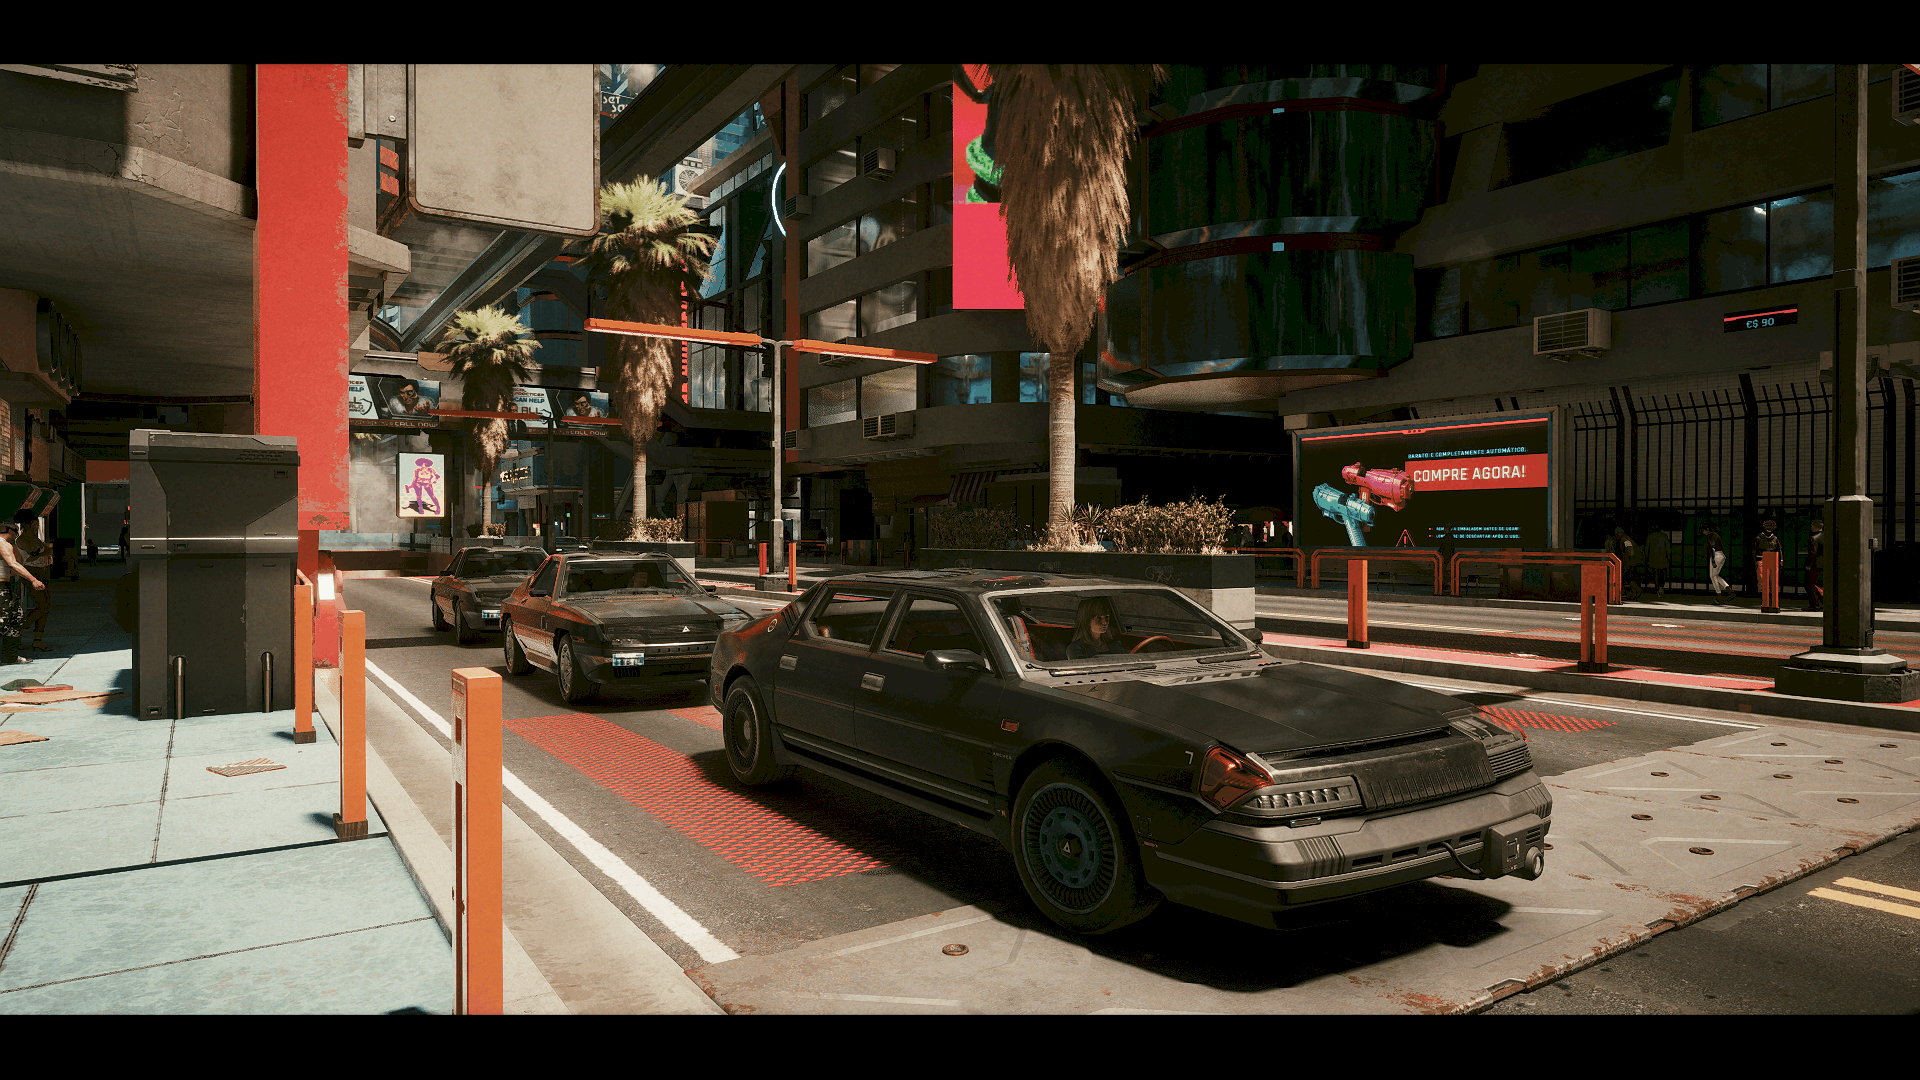
Night City Enhanced is a Reshade preset that will improve the original graphics of the game with minimal or no performance impact, depending on your system. It will give a cleaner atmosphere, a little more realistic look, better color balance, better sharpness and contrast. You will not see a big visual transformation, only a small rework of Cyberpunk 2077 vanilla look. Reshade resources used: Curves, HDR, LiftGammaGain, LumaSharpen, Technicolor2, Tonemap and Vibrance.
REQUIREMENTS
ONLY for NVIDIA users: If you are using HDMI conection, Its VERY IMPORTANT to set your Dynamic Range in full, in the graphics card control panel (see this image). For AMD Users: open AMD control panel, click on Gaming tab > Games > Global Graphics > Display > Pixel Format and set to: RGB 4:4:4 Pixel Format PC Standard (Full RGB).
INSTALLATION STEPS
1- Download the latest Reshade reshade.me;
2- Run the executable to install the Reshade —-> select the game or browse until find the game executable .exe folder (usually [……..\ Cyberpunk2077 \ bin \ x64 folder ] ) and click on the game .exe file —-> select Direct3D10/11/12 (and click inside this same bar ) —-> In the shaders collections window click on “Uncheck All” , you will see that the first option can’t be unchecked, no problem, roll down and select ONLY the last option (Legacy Standard Effects) —-> confirm and wait the download of the shaders —> In the shaders window you can click on “Uncheck all” and check only these .fx files: Curves.fx, FakeHDR.fx , LiftGammaGain.fx, LumaSharpen.fx, Technicolor2, Tonemap.fx and Vibrance.fx —> Confirm and close the little window
when you see the message “Reshade Setup was successful”.
ATTENTION: The firewall from some antiviruses can block the download of shader files during Reshade installation (Message: “Unable to Finish Download”). If it is happening to you turn off the firewall temporalily
and try to install Reshade again. In some cases even Windows can block the installation and you will need to check the options in Windows Warning to go on with the install. There is not any viruses in these files, its a false positive.
3- Download my mod from files tab of this page, and extract the file NightCityEnhanced.ini file to [……..\Cyberpunk2077 \ bin \ x64] folder;
4- Run the game, use “Home” key to open Reshade menu, click on continue and on the red bar near the top, choose the file NightCityEnhanced.ini file and so click on “Select”(you will see the visual change exactly when click on “Select”) After it, click on “continue” bars and “Finish” bar at the bottom of the menu, then “Home” key again to close it.
5- (Optional) If you want to set a hotkey to Enable/Disable the Reshade Effects you can do it on
Reshade menu Settings tab > Effects Toggle Key (I use F3 key to turnON/OFF all the effects )
UNINSTALLATION :
To uninstall you need to delete: reshade – shaders folder, NightCityEnhanced.ini, Reshade.ini and the 2 dxgi files from [……..\ Cyberpunk2077 \ bin \ x64] folder .

