

Orphan’s Reshade
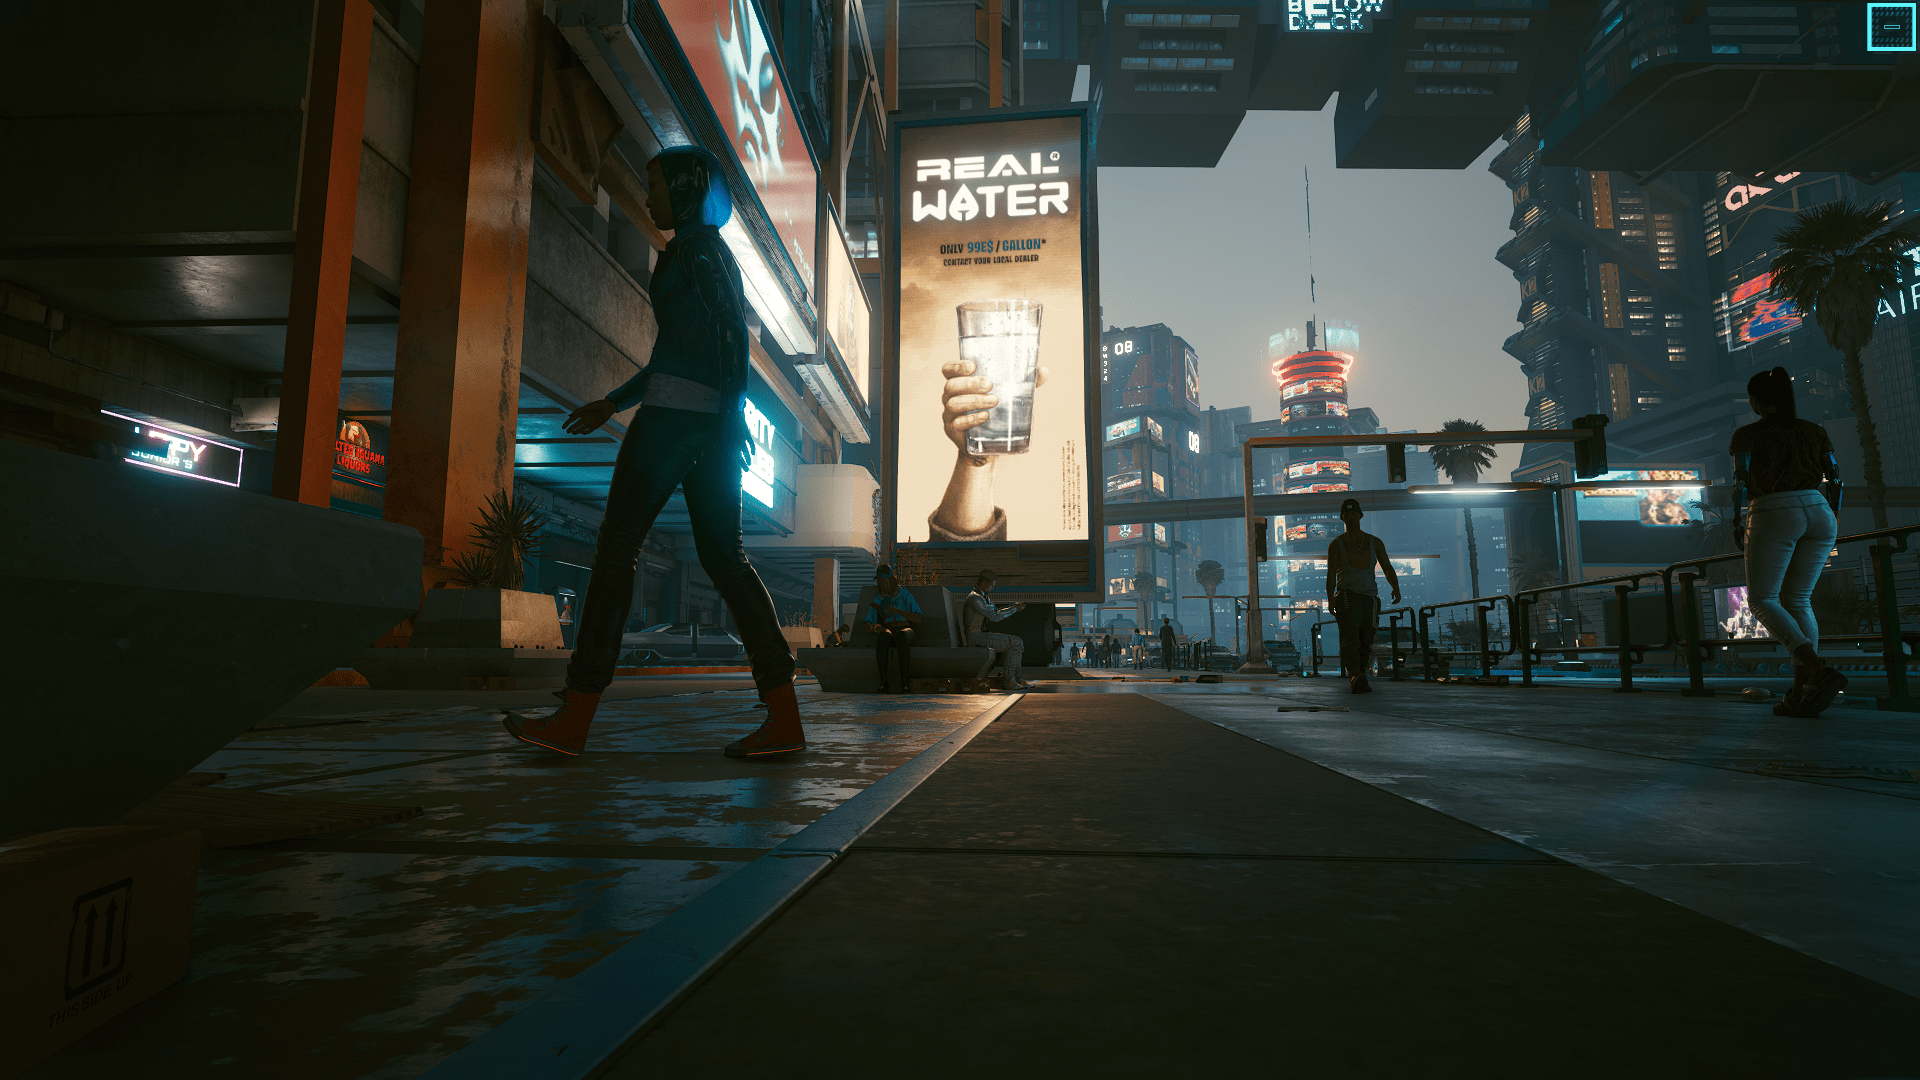
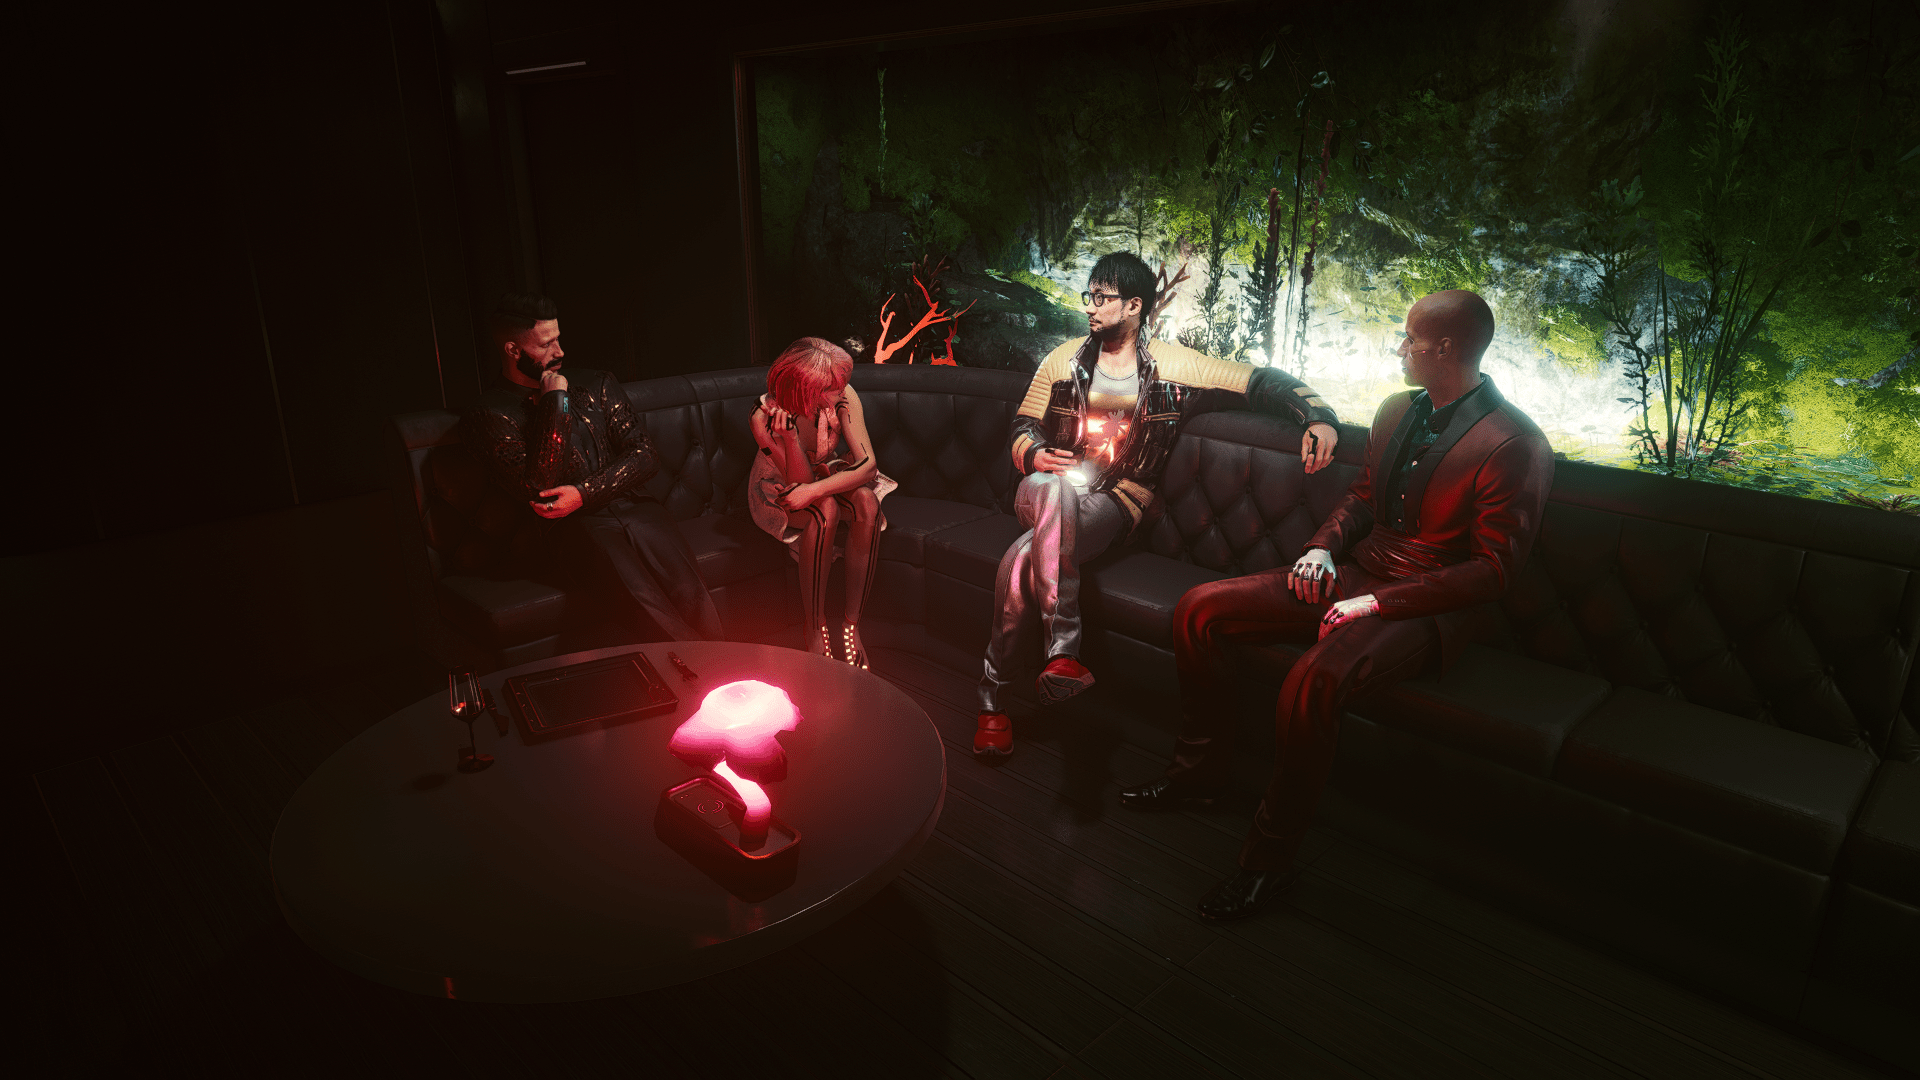
I use this preset on both my PC monitor and my TV, however, for it to look right on my TV I had to change Hue within NVIDIA control panel to 10 degrees. So if the image looks to colorful or too colorless, modify the ‘Colorfulness’ effect in Reshade UI.
- Download Reshade
- Install Reshade at Cyberpunk 2077\bin\x64 directory
- When asked to select Package Effects, select all
- Copy my files to the Cyberpunk 2077\bin\x64 directory
- Activate my .ini in game