



Respectful Reshade Redux – Image Enhancer 3.0 – kills the green
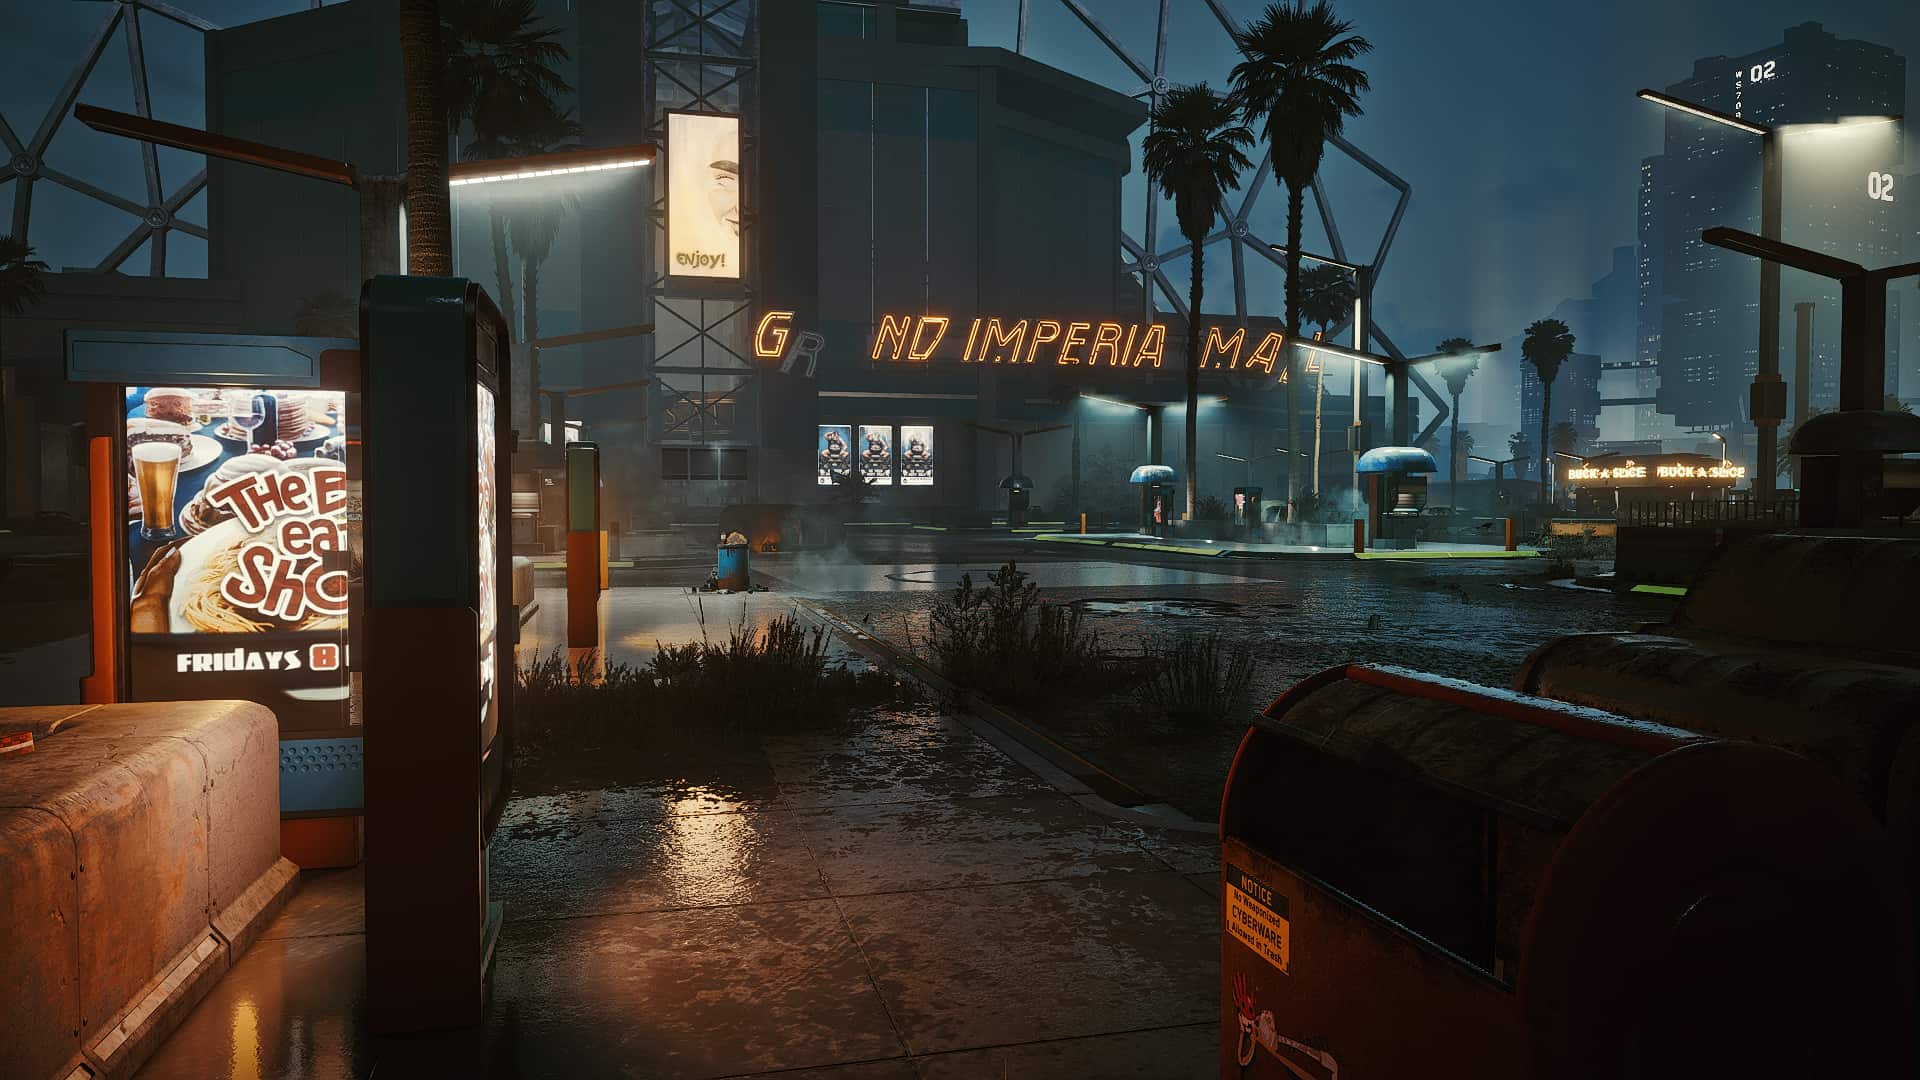
Real, truthful image enhancing (without throwing away image informations). Now with colour correction to kill the green. Better depths, more clarity, better materials, better metals, stronger colours, better light, better bloom. Works great even on low settings!
Maybe that’s excactly what you have been looking for.
Have a clearer, more crisp image while keeping the original vision of the creators.
Less cloudy, less milky. But without destroying the picture, throwing everything in the dark and losing image informations.
Works for every graphical setting, with and without RTX. Really makes a difference. Can be played in 720p to save valuable fps and still looks
nice. You even can activate Filmic Anamorph Sharpening to artifically
enhance details in that resolutions. Will just get a littl crusty.
Now with colour correction to get rid of that green hint. Because of that, I reupload it because it is indeed a big step for this preset – and i want to seperate further steps in colour correction and the core mechanics for image enhancing.
If you just want to have that extra tweak of ultra graphics with the characteristic green undertone, look out for the original
Respectful Reshade 2.0 – Image Enhancer
So, what’s it about?
A little trickery in postprocession:
– better distance fog
– better light – it fills the room and effects everything a little bit more
– better sunset
– better colour
– no more green goo!
– less overexposure, no more washed out days
– better (end more subtile) bloom
– slightly sharper
– better structures and textures of streets, materials, dirt
– better chrome/metal reflections
– more pop
– more crisp
– less cloudy
– eyefriendlier
– everything fills the same space
– better feel of distance and dimension
– looks better
– more immersive
– it’s like getting glasses
…idk it’s the rubbish workflow i use to improve jpeg fotos or compressed movies (from smartphones, or when raw is missing)
and i want to share because
All the screenshots were made using a FX-8350 with a Geforce GTX 1070 in Ultra Mode (rtx off) in 1920×1080.
fps hit is quite friendly, 5-10%, mostly less.
Installation:
1) Install ReShade, make sure you install all plugins.
2) Drop the .ini you found in my download to “\Cyberpunk 2077\bin\x64” .
3) Open reshade’s menu overlay ingame and select ‘RespectfulReshadeRedux’. Make sure to be in performance mode.
4) Deactivate both Film Grain and Chromatic cberration.
5) Turn the Gamma up a little bit ( I use 1.06 ) to make the picture darker. Depends on your display.
6) If you like to, you can bind a key for “toggle effect” in the settings page of reshade’s overlay. Then you can swap the effect to look at all it’s magic in direct comparison!
IF YOU LIKE THIS RESHADE, MAKE SURE TO ENDORSE!
Works in every graphic setting. It is suitable for playing in 720p to save fps with lower end PCs!
You can activate ‘Filmic Anamorph Sharpen [FilmicAnamorphSharpen.fx]’ to
have some grainy extra sharpness which you get used to fast.
This is useful when you can’t reach full HD but want to improve your image.
Especially when you don’t sit to close to your monitor (or television,
for which it is perfect) you can have a great effect and have higher
framerates.

