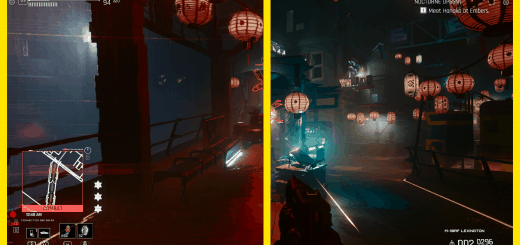
Settings Manager

Cyberpunk 2077 Mods |

Settings Manager

Install:
Dowload and install CET
Download the mod
Extract the folder into your Cyberpunk Game folder (The one containing /bin and /r6)
Folder structure should be “PATHTOCYBERPUNK\Cyberpunk2077\bin\x64\plugins\cyber_engine_tweaks\mods\presetLoader\init.lua”
Optional: Install CPStyling for better looking UI (Mod also works without it)

How to use:
Open the CET Console to show the mods UI
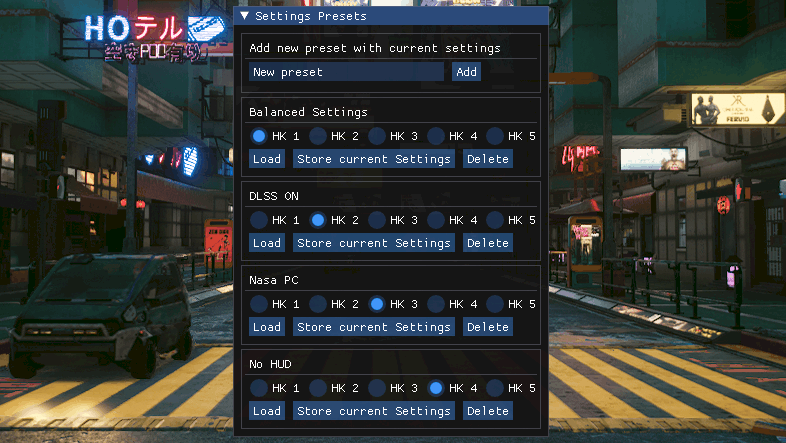
Enter a name for you preset and hit the “Add” button next to it, this will save you current settings to a new preset
Press the “Load” button on the preset that you want to load, or assign one of the five hotkeys (HK1-HK5) to a preset
Press “Store current settings” to store your current settings to that preset

Author: keanuWheeze
This content was uploaded by website visitors. If you notice any mistake, please let us know.

The Cyberpunk 2077 mods offer a wide variety of free options to enhance and customize your game, making it more engaging and efficient. Download this Cyberpunk 2077 Settings Manager mod and, with no download limits, explore different options to upgrade your game and stay ahead by continually improving your gameplay experience.


Useful Information: How to install Cyberpunk 2077 Mods | How to Create Cyberpunk 2077 Mods | Cyberpunk 2077 Release Date | Cyberpunk 2077 System Requirements | About Cyberpunk 2077 Game | Cyberpunk 2077 News

You may also like...

Leave a Reply

Your email address will not be published. Required fields are marked *