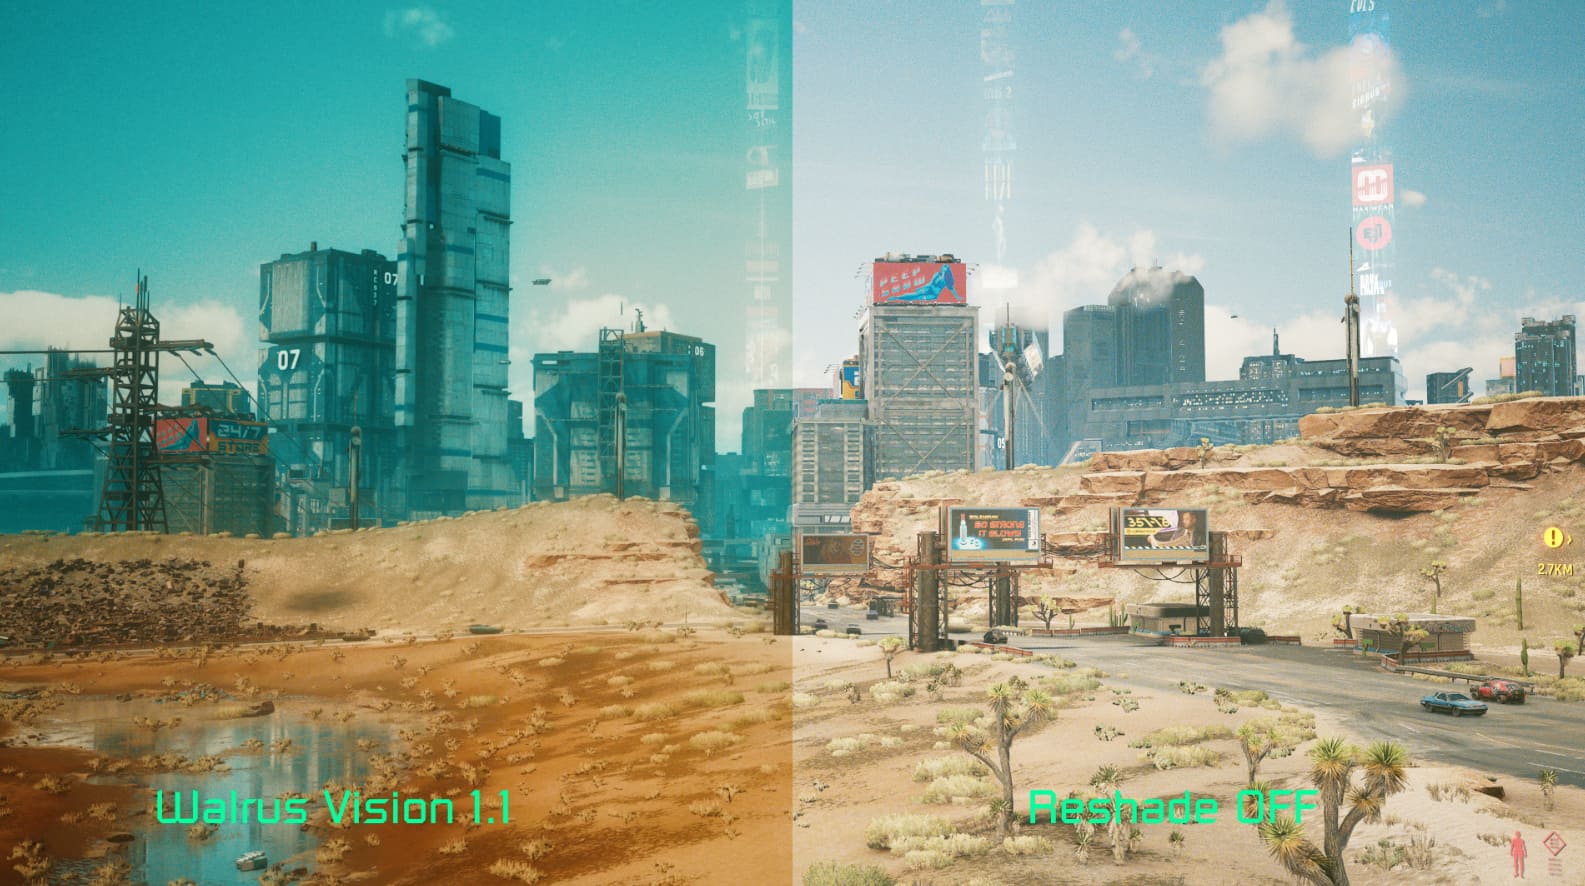
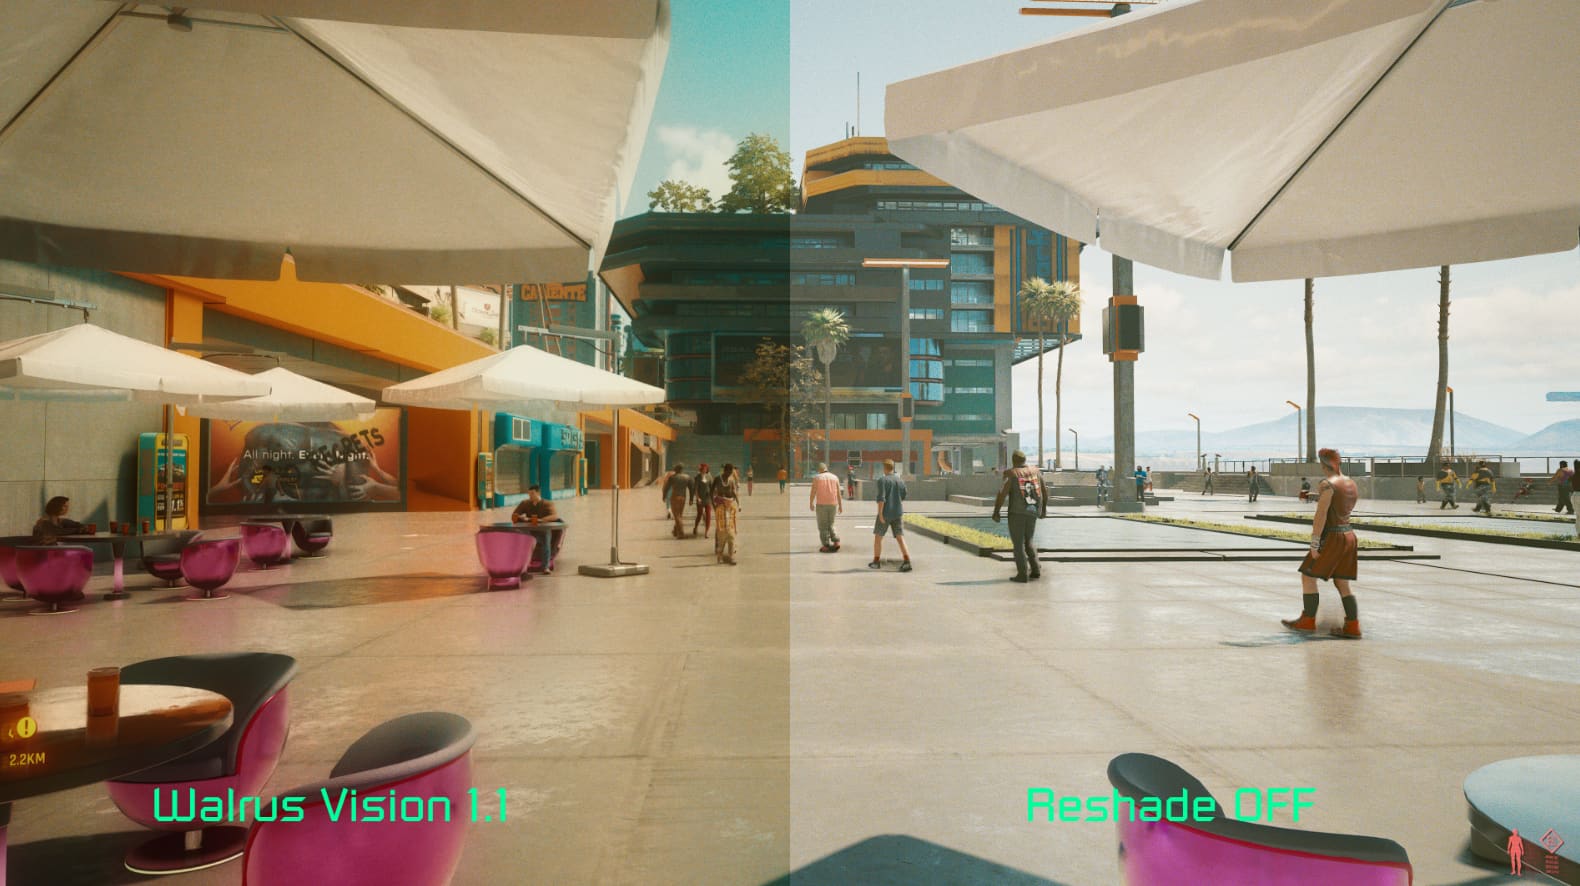
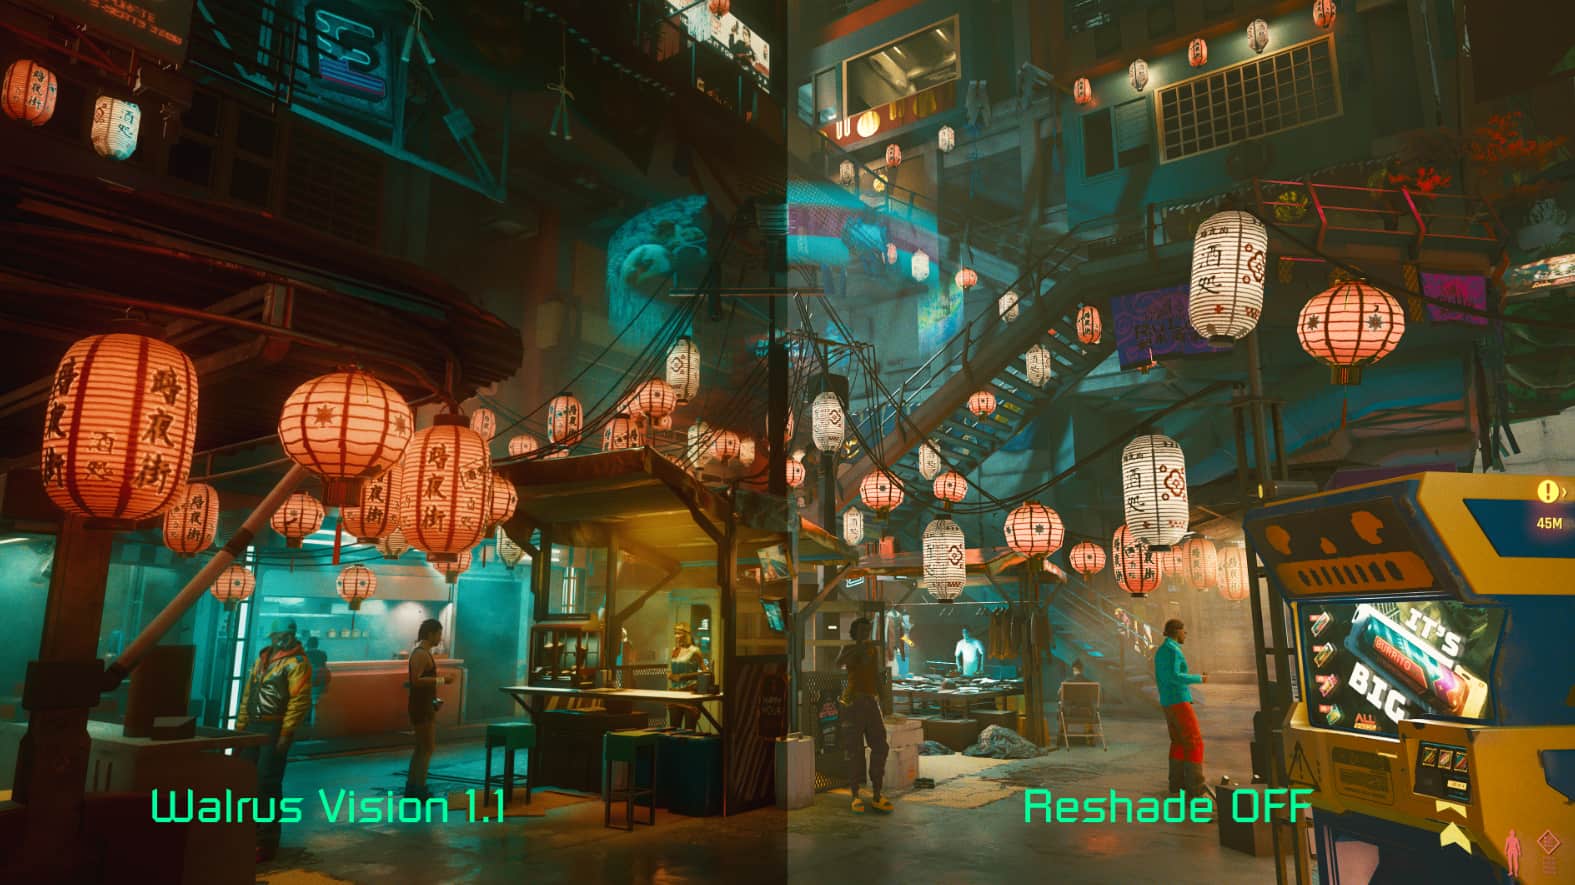
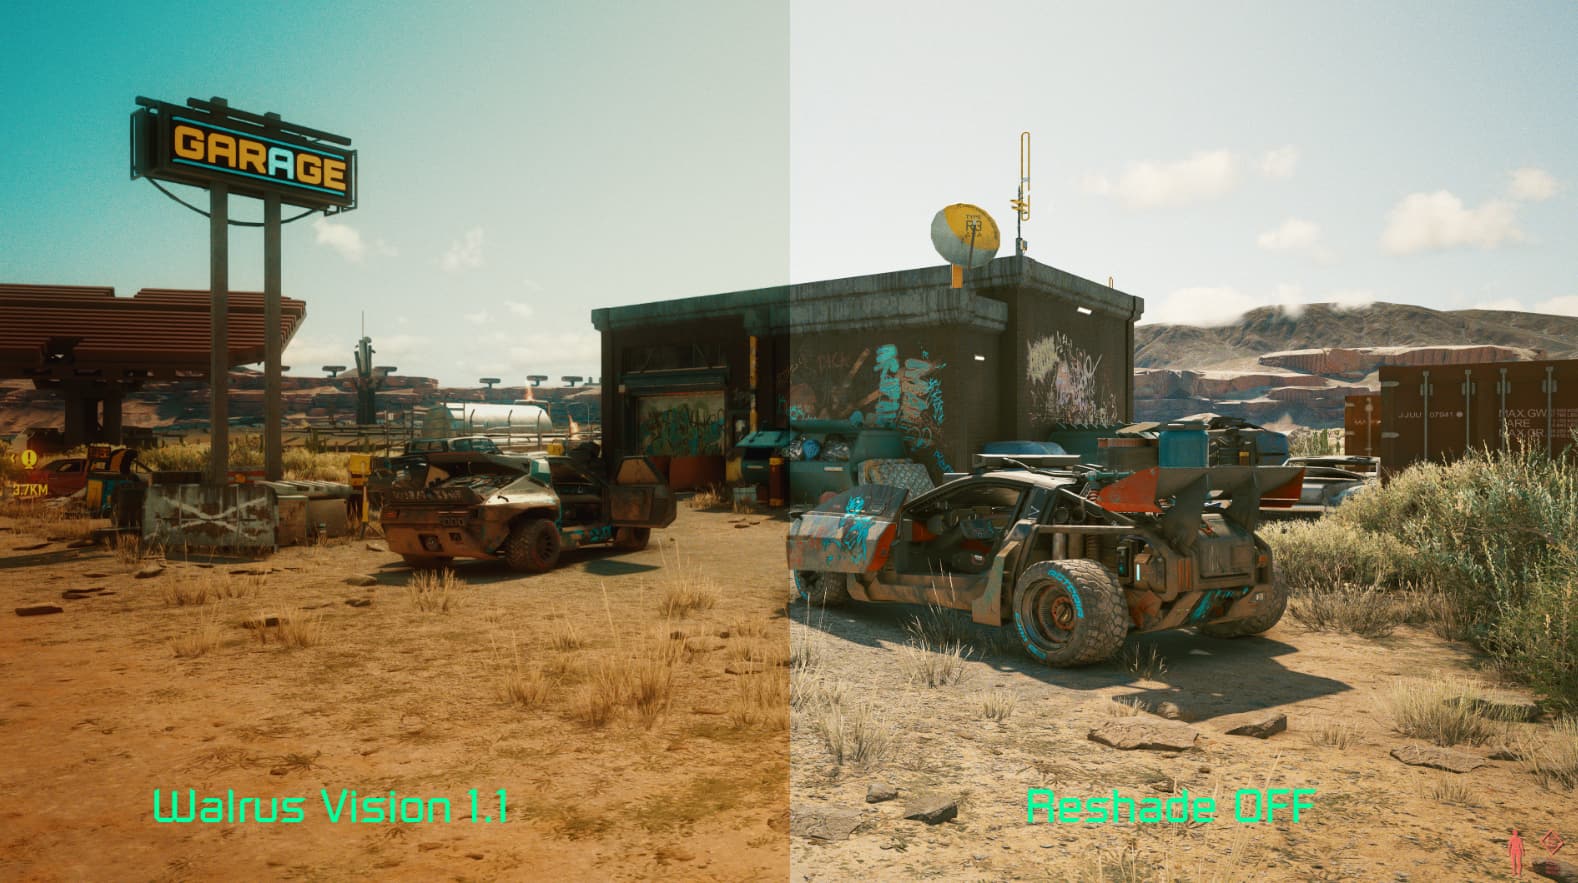
Walrus Vision Reshade
My personal reshade preset and LUT, requested by a few people.
Installation
Step 1: Install reshade (to the game.exe in Cyberpunk 2077/bin/x64/ and select DX 10/11/12) with all plugins!
Step 2: unzip the mod to your game directory /Cyberpunk 2077/
Step 3: (The home button on your keyboard should open the overlay) Select and enable the preset within reshade
Step 4: Enable “Performance Mode” under the Home tab, enable “copy depth buffer before clear operations” under the D3D12 tab
Enable Load only enabled effects under the settings tab *refer to settings image if you’re confused
Step 5: Replicate my visual settings:
Enable Flim Grain in graphics settings and set in game Gamma to .8 and adjust from there for your own monitor/taste
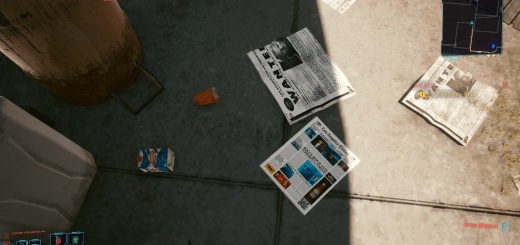
during the night time it should be dark, but you should still be able to see things on the ground.